Building a Load & Sending a Rate Con
Building a Load & Sending a Rate Con
1. Navigate to https://dieseltms.com

2. Click "Loads"
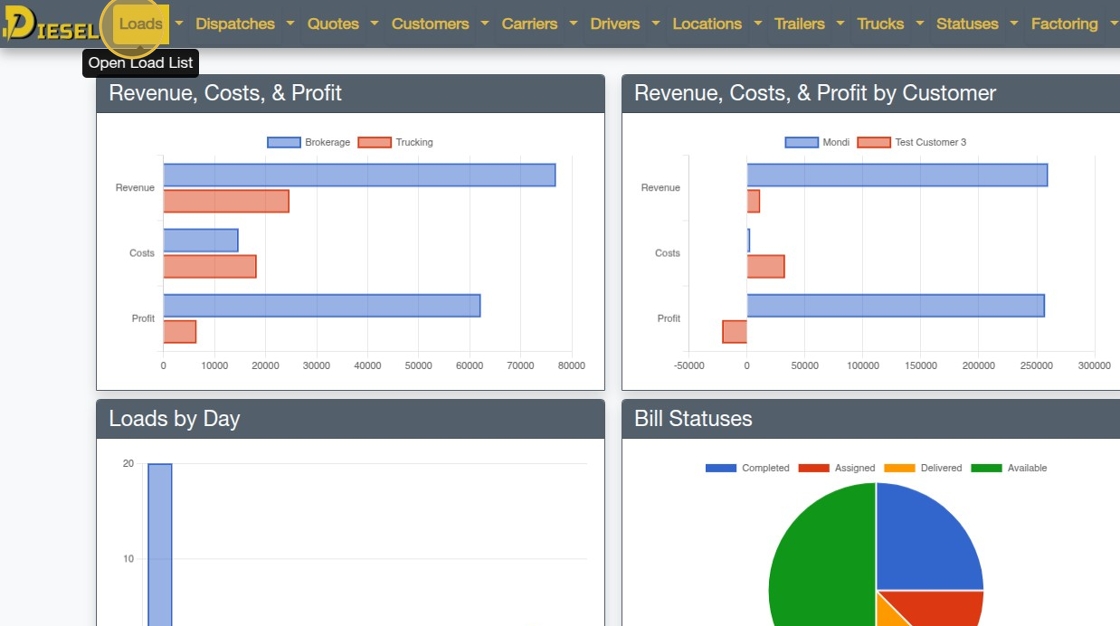
3. Click "New"

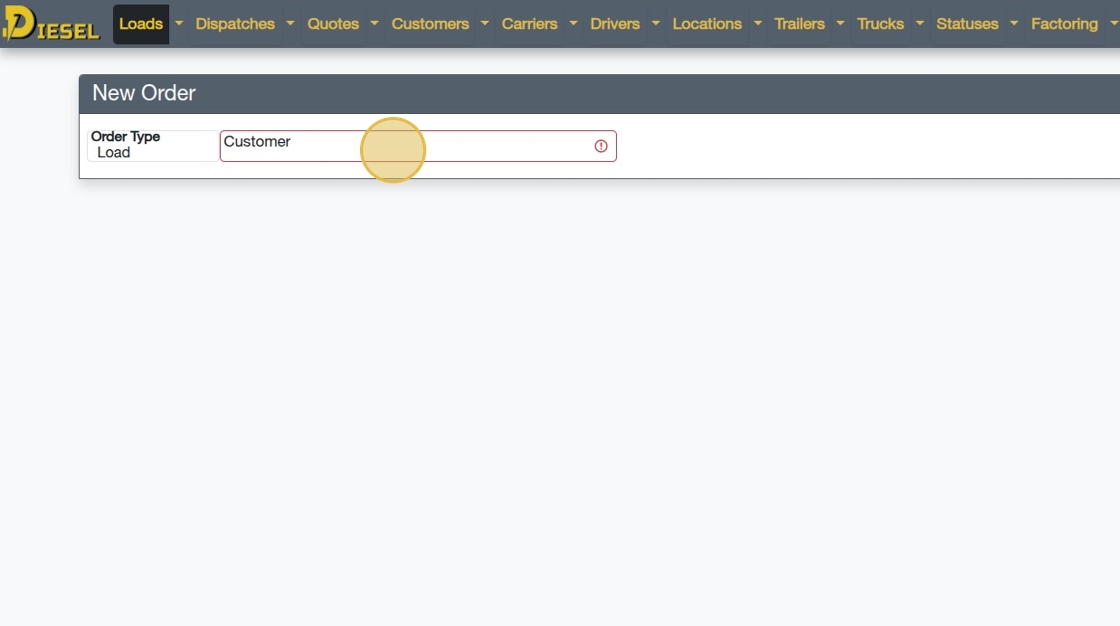
4. Select a Customer
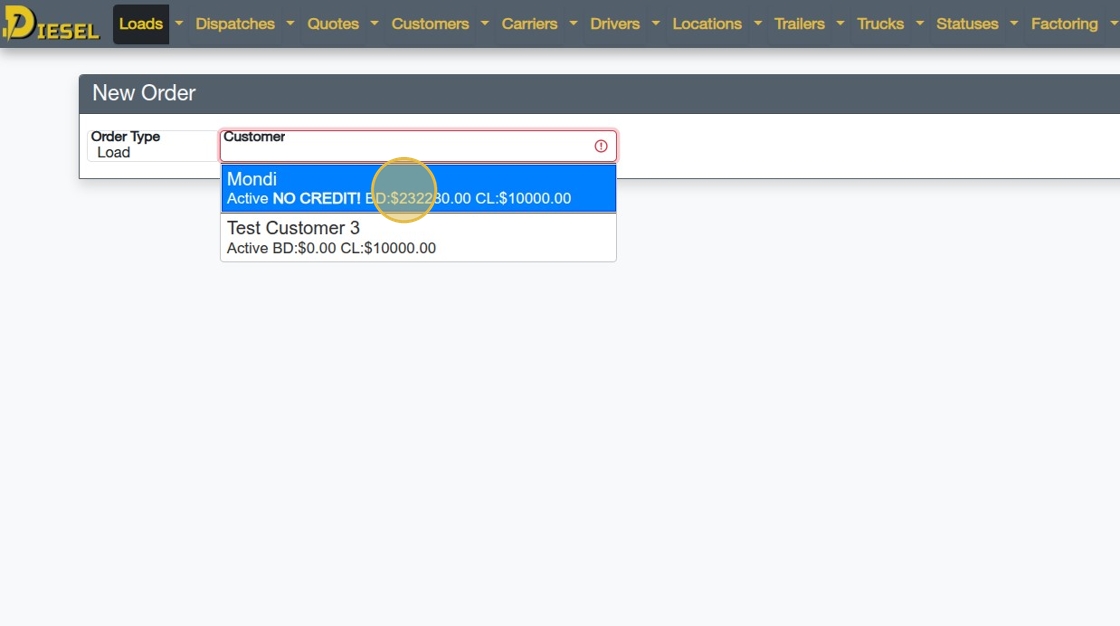
5. Click "Active NO CREDIT! BD:$232280.00 CL:$10000.00"
6. Click on the green "Create" button

7. Enter the Trailer Size / Length
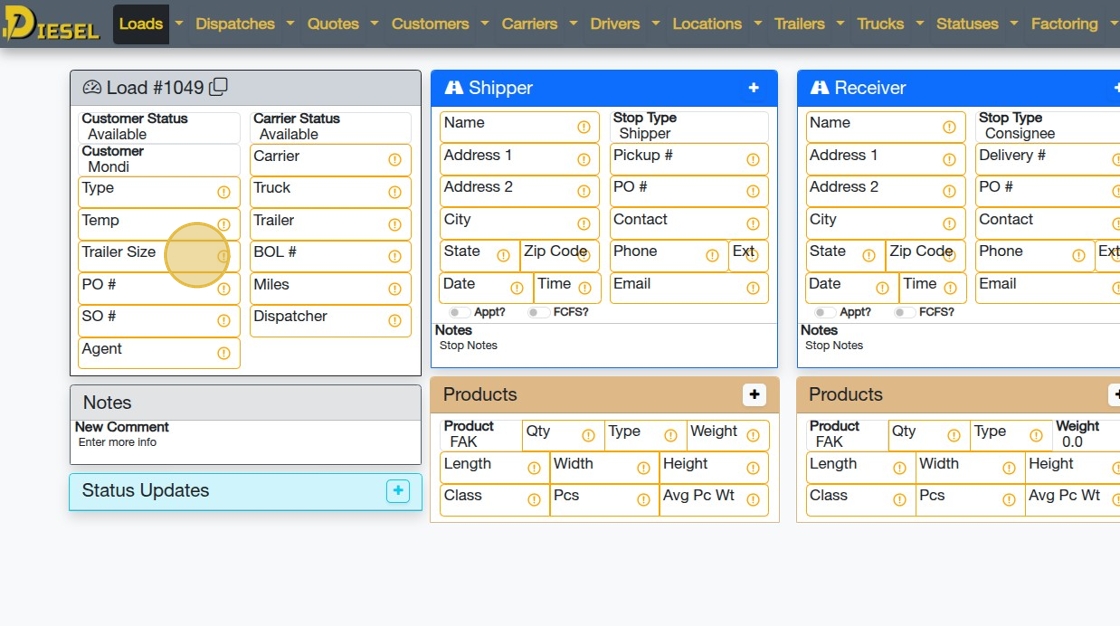
8. Next, Enter the PO #
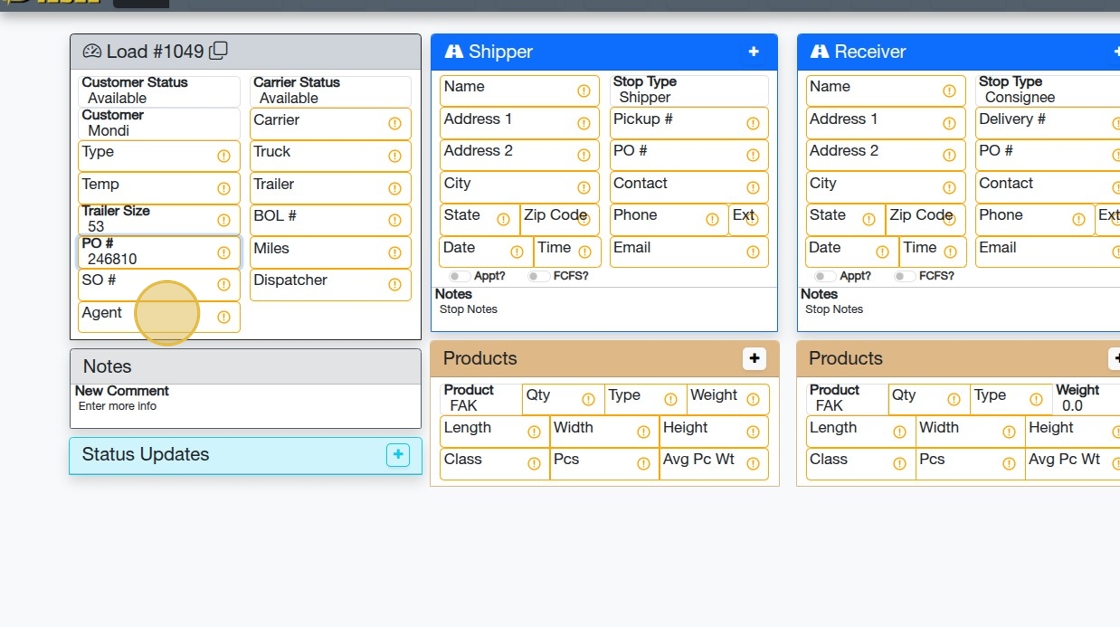
9. Select the Agent (Sales Rep) for this Load

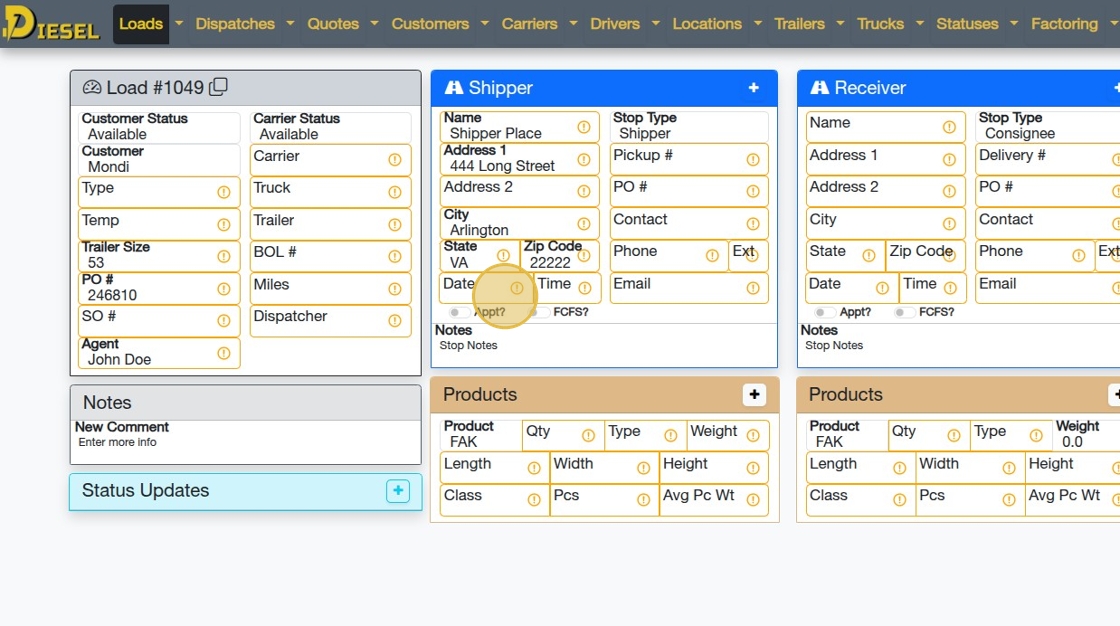
10. Next, let's select the Shipper

Tip: DieselPro (Paid) Accounts can search for any address, even if it's not saved in their Locations!
11. Search for and then select the appropriate Shipper from the list

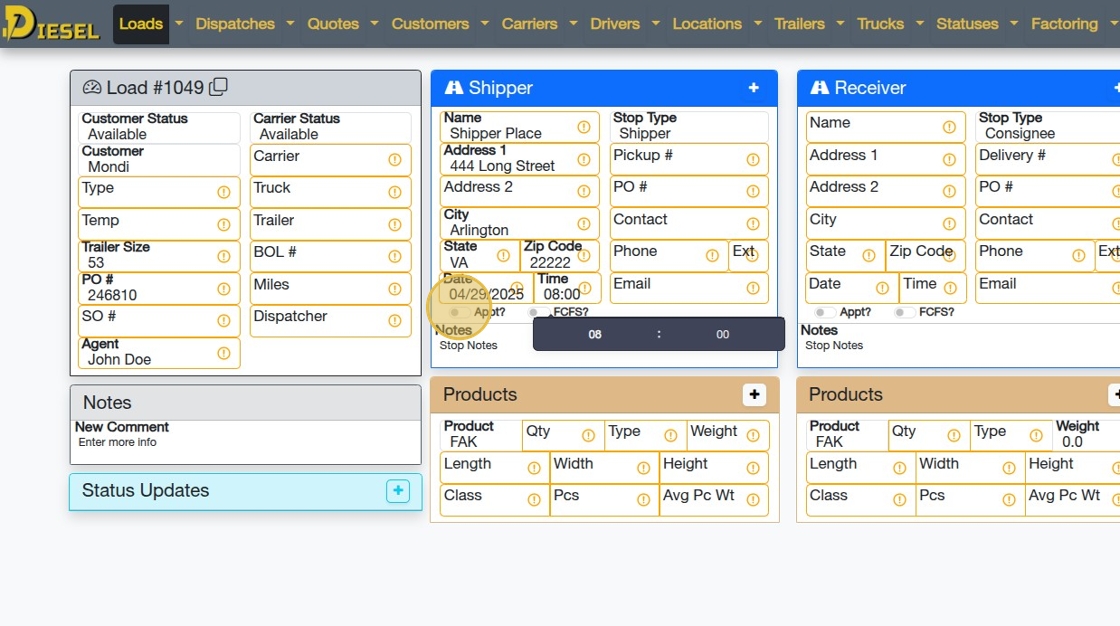
12. Enter a Pickup Date by clicking on the Date field.
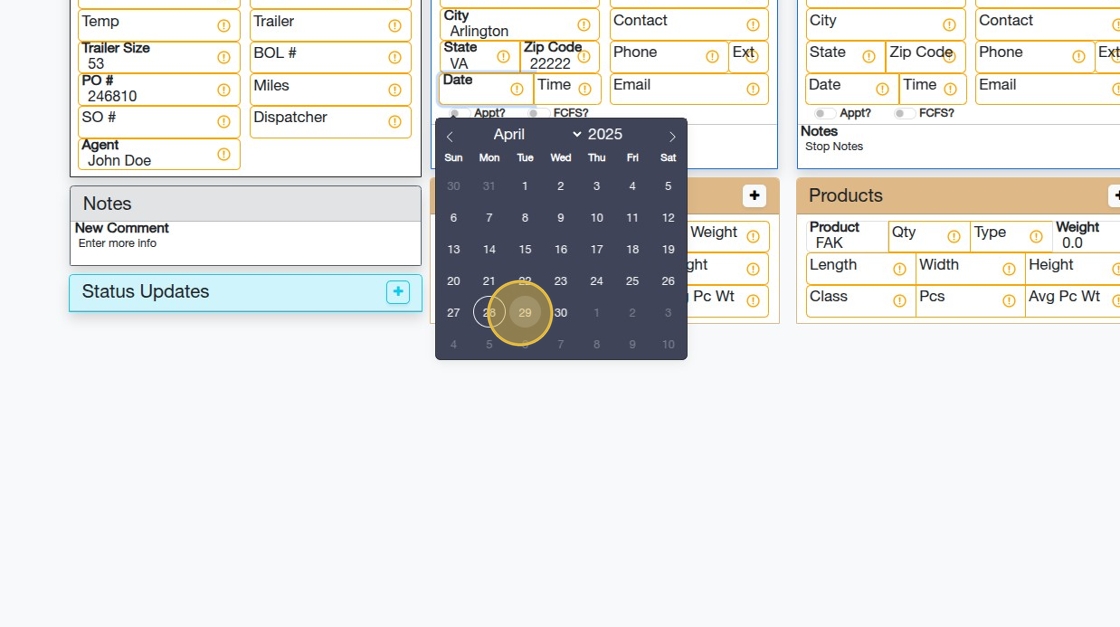
13. The calendar appears. Click on the Date you'd like, or use the arrows to change months.
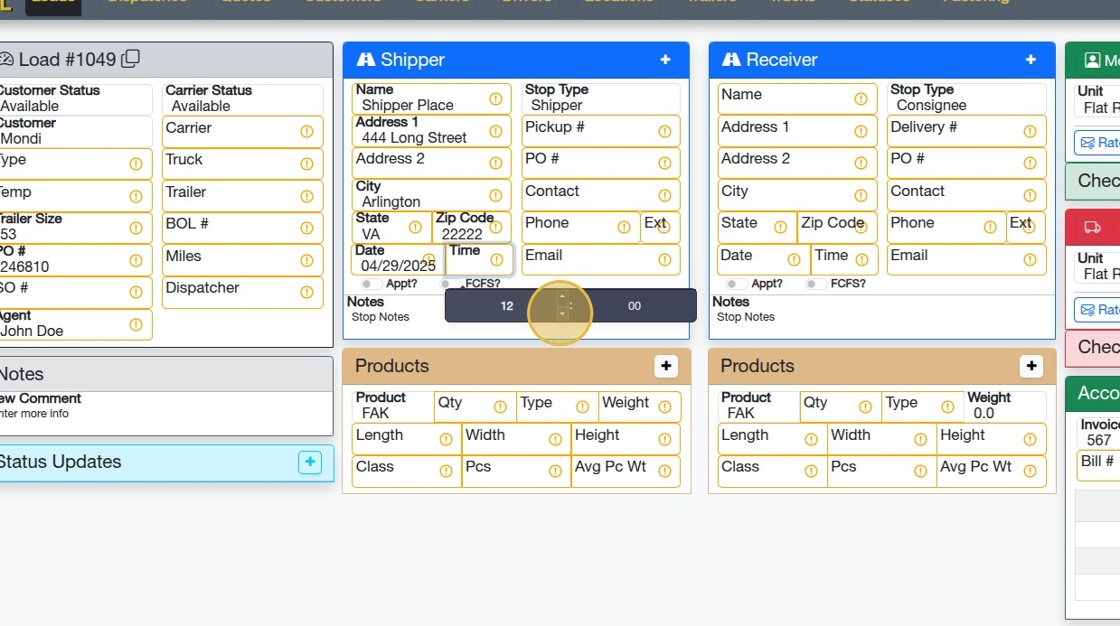
14. Next, let's enter the Pickup Time
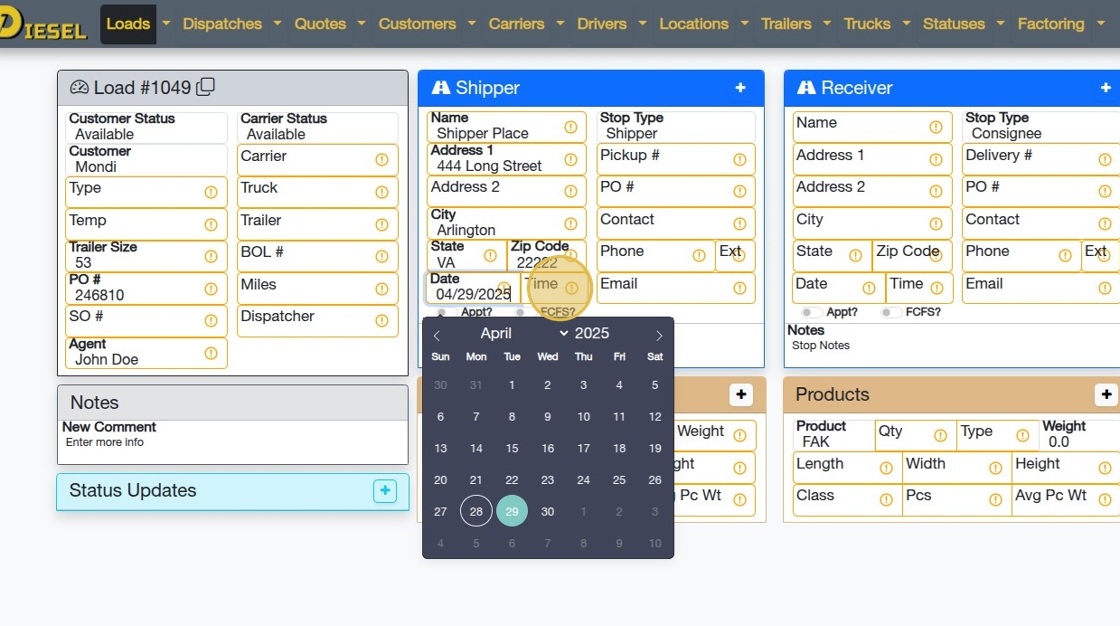
Tip: You can also simply type the Date and/or Time in the fields.
15. Change the Time by entering a value or clicking the arrows.
16. Click here to select the Appointment option.
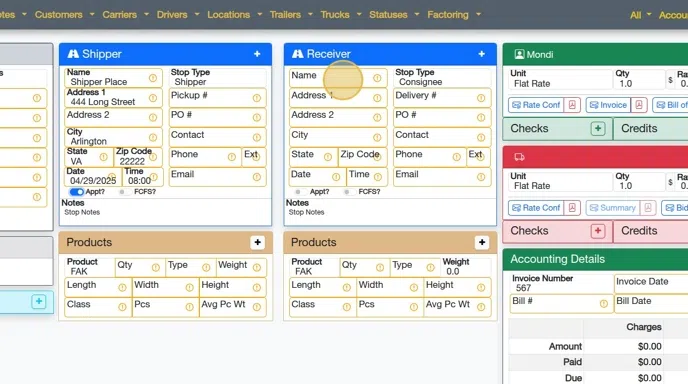
17. Repeat the process for the Receiver / Consignee
Click "ABConsignee"
Click the "Date" field.
Click "2"
Click this text field.
Double-click here.
Click here.
18. Next, let's enter the Customer Rate

19. Enter the Unit/Qty/Rate as shown below
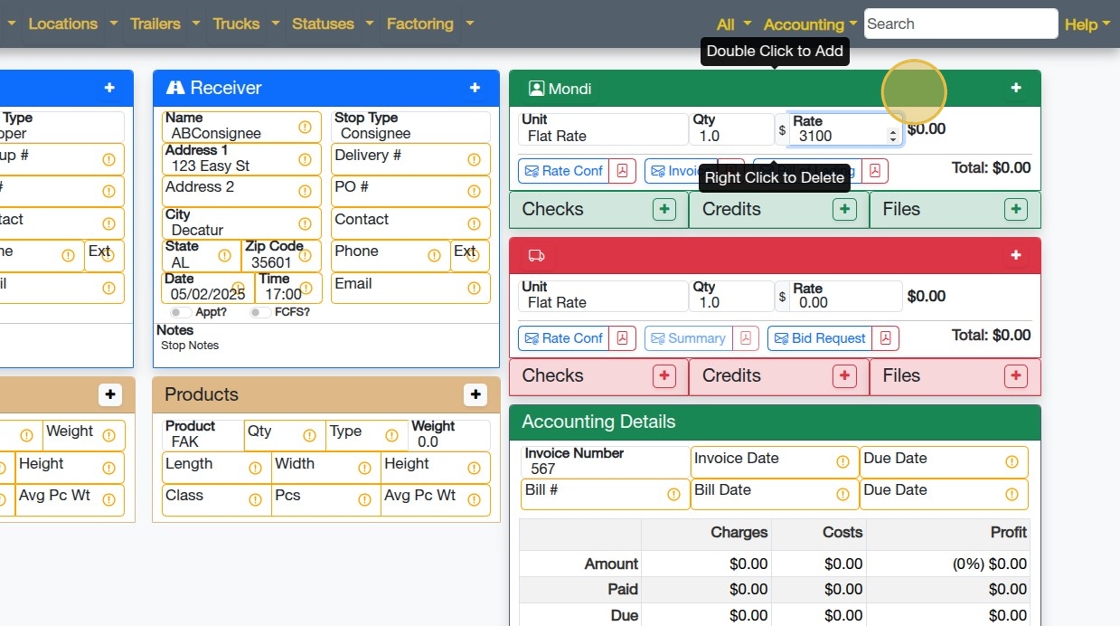
20. To add a line item, just double-click (or double tap) anywhere in the Charges section.
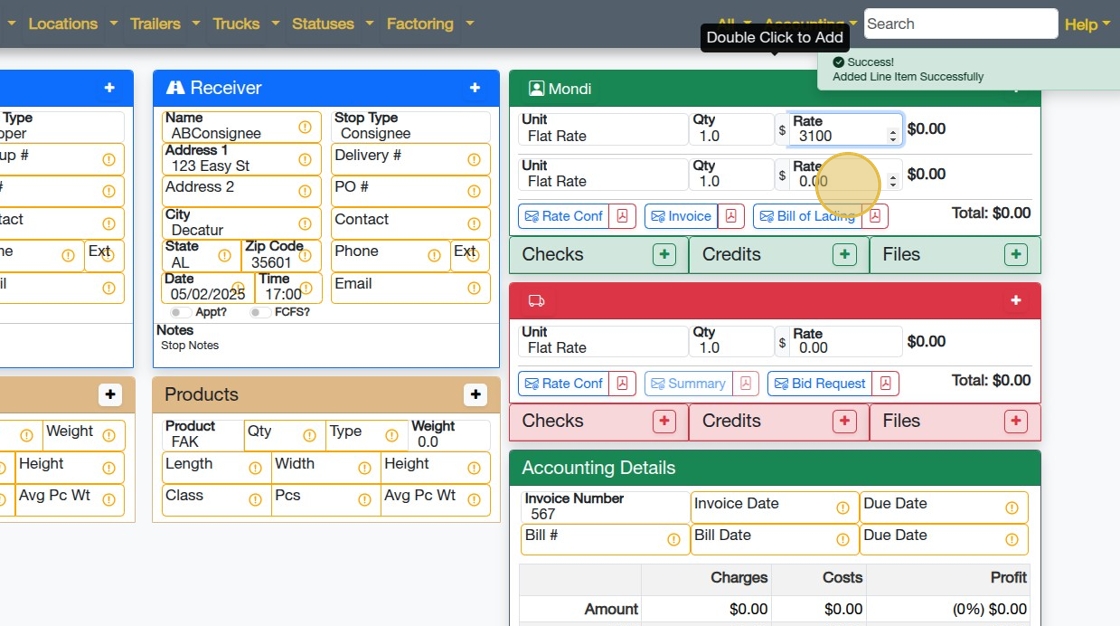
Tip: You can also add a Line Item by clicking on the + button in the top right corner of the Charges section.
21. Click the x on the right of the field to clear the Unit field and search for a different unit. You can also just erase the value or type over it.
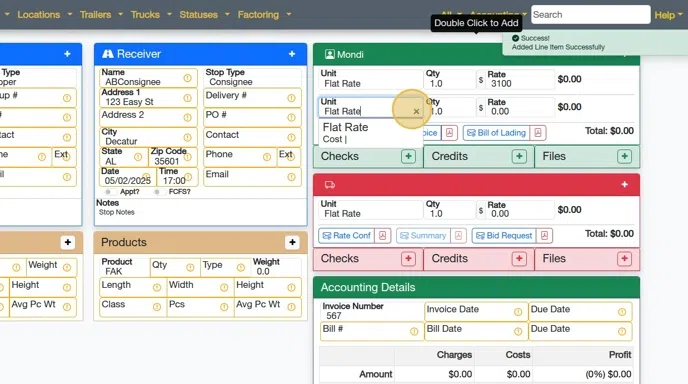
Tip: If you have yet to create a specific item, just type the name in the Unit box and it will be created when the Load is saved!
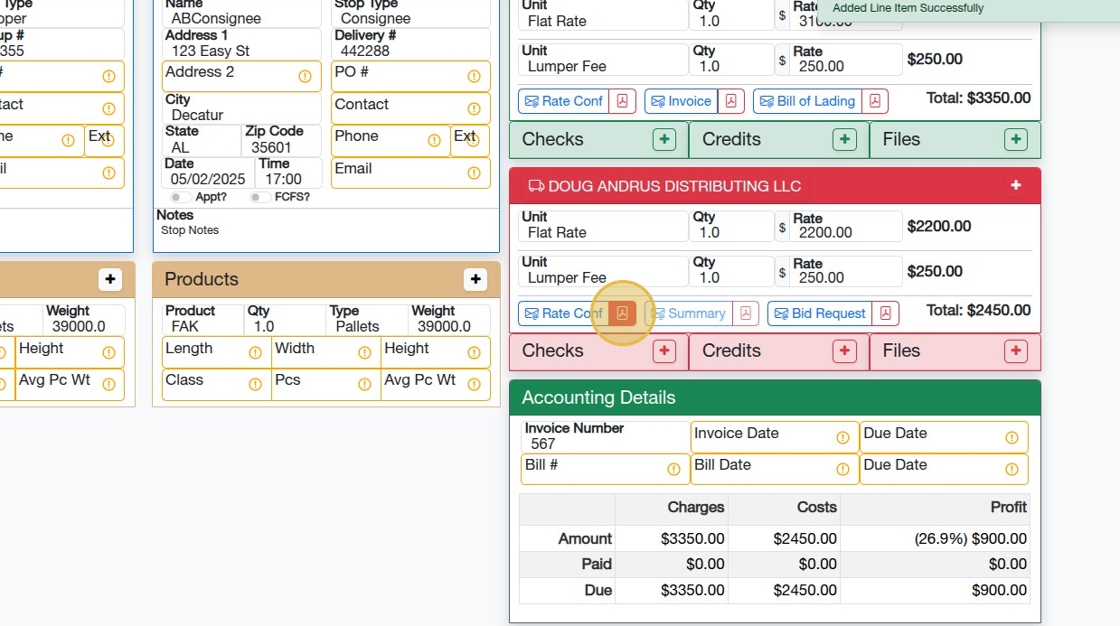
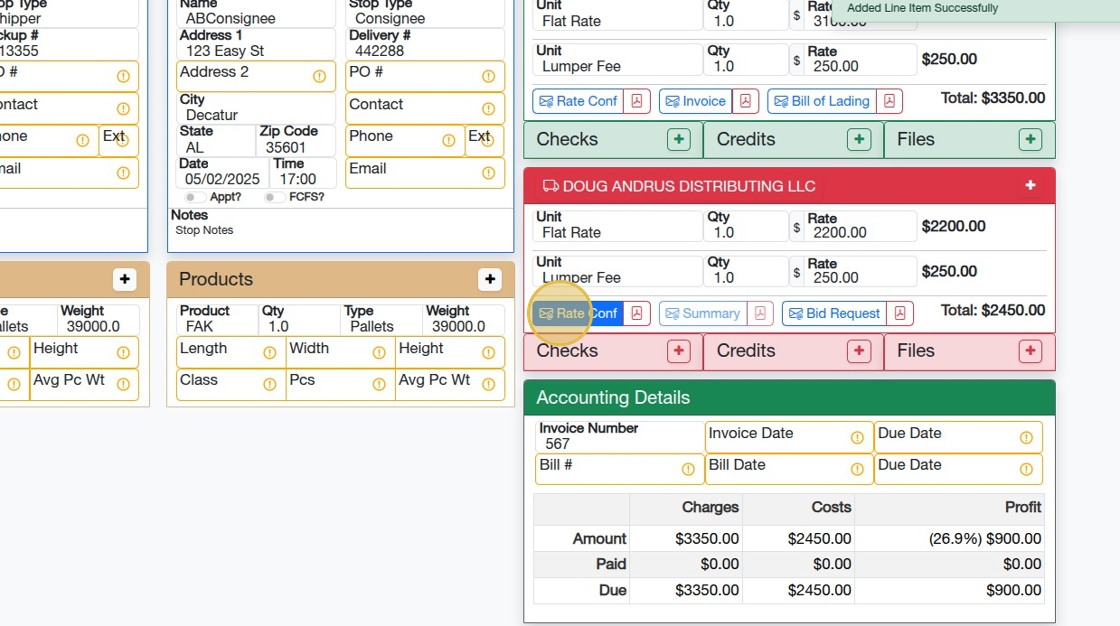
22. Next, let's enter the Costs for this Load as shown below.
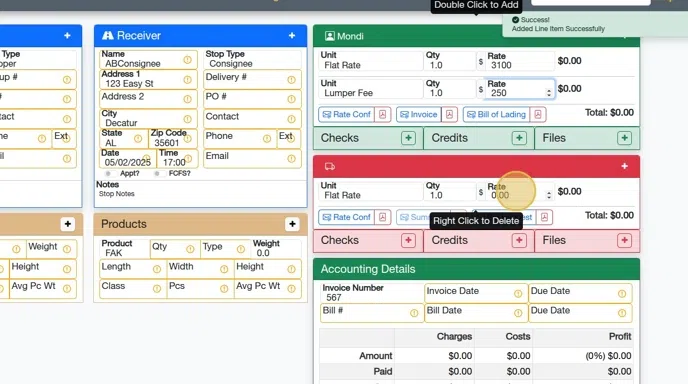
Tip: To delete a line item, right click on the line item and you will be prompted to delete it. (On a mobile device, press and hold to delete.)
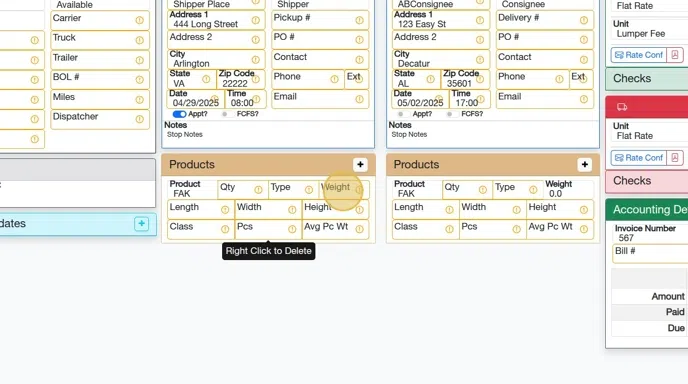
23. Next, Enter the Weight and other Product details
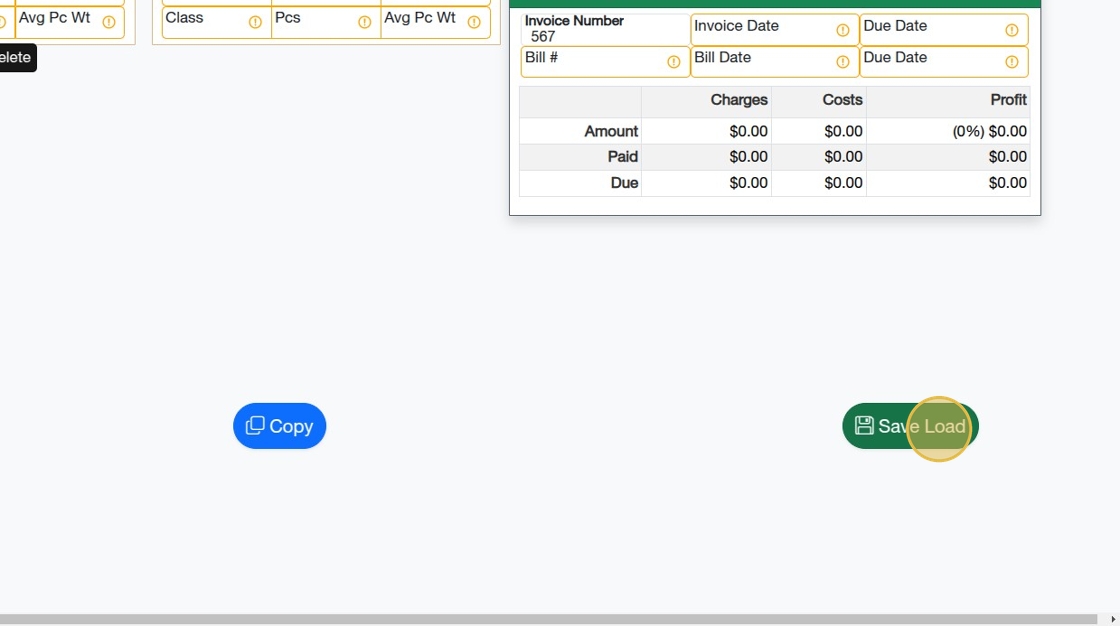
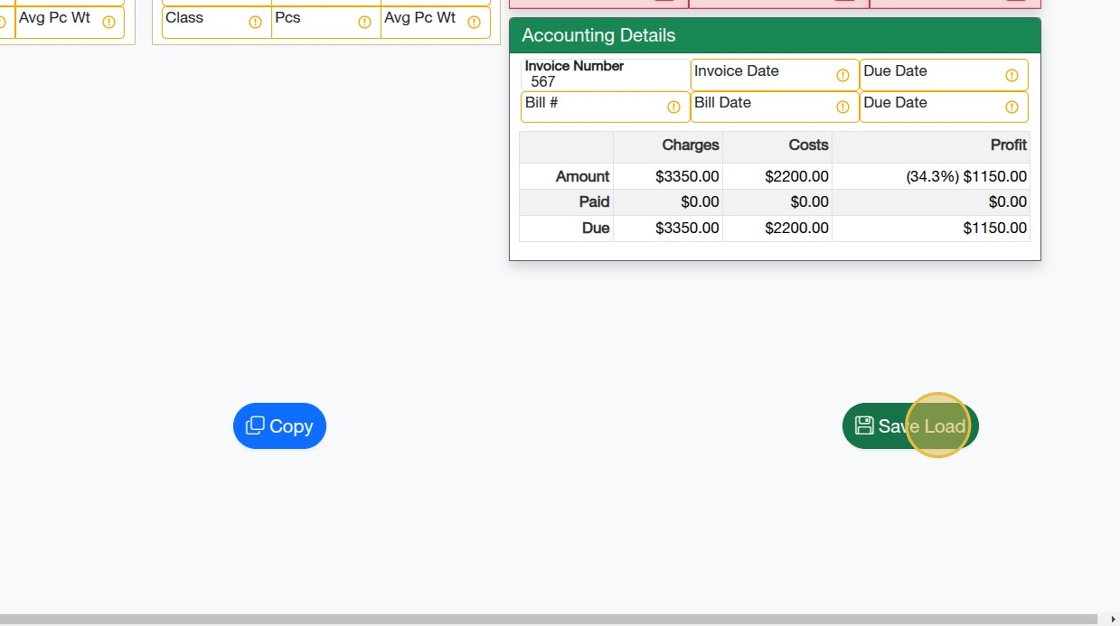
24. Click "Save Load"
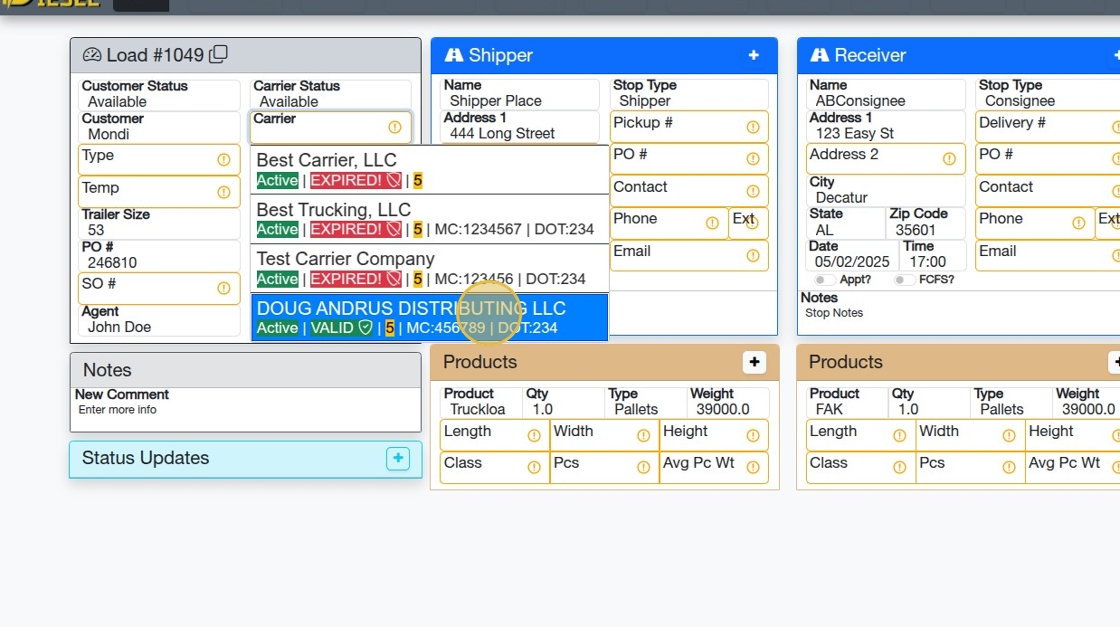
25. Click the "Carrier" field.
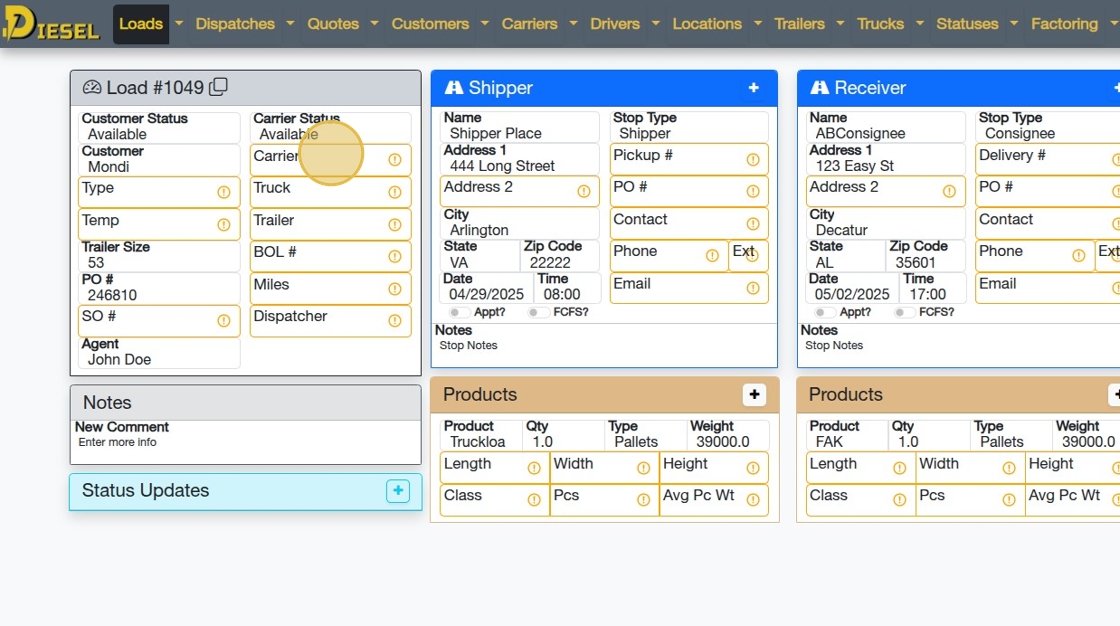
26. Now, let's assign the Carrier. In the list, you can see various details about the carrier, like whether their Insurance is expired, their rating, and much more!
27. Enter any reference numbers.
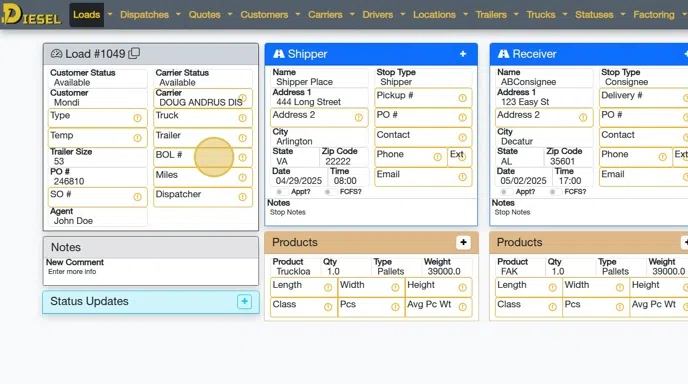
28. Click "Save Load"
29. Let's take a look at the Rate Confirmation and see if it has all the information we need.
30. Great! Looks good.

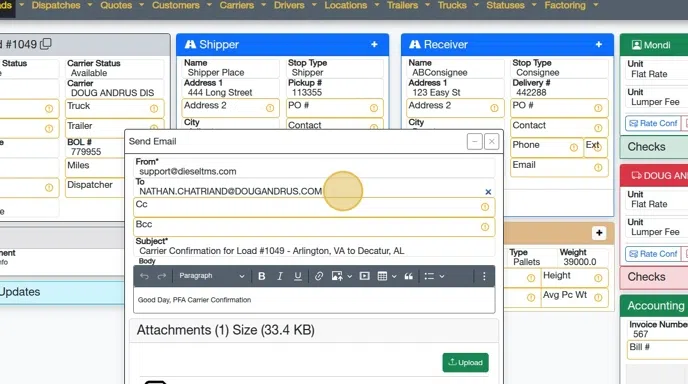
31. Let's go ahead and email it.
32. Let's move this email box to the middle.

33. That's better. Okay, I also need to change this email address to good ol' Billy Bob
Click the "To" field.
Click "Billy Bob"
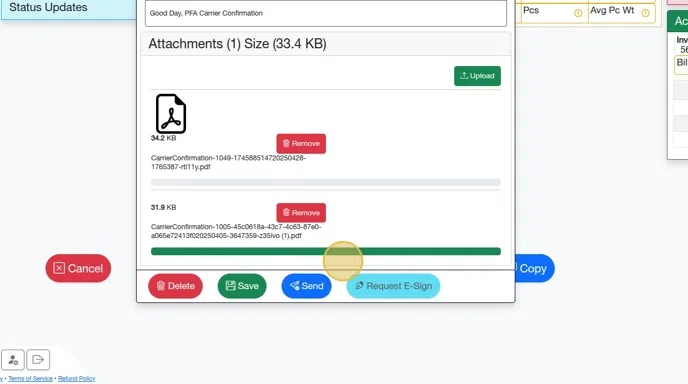
34. I also needed to drag and drop an extra file from my computer to here, so I went ahead and did that and then clicked Send
The email box disappears. That's it!
Related Articles
Sending, Receiving, and Signing a Signature Request / Onboard
Sending, Receiving, and Signing a Signature Request / Onboard 1. Navigate to https://dieseltms.com 2. Click "Log In" 3. Click "Onboards" 4. Click "New" 5. Select the "Rate Confirmation" option. Tip: You can design your own PDF Templates to use when ...Calculate Miles on a Load / Quote
Calculate Miles on a Load / Quote 1. Open the Load you would want to add miles to. 2. Ensure the Load has at minimum a Shipper Address, a Receiver Address, and the Load has accurate Weights & Dims. (As shown below) 3. Click "Miles". The Load will be ...Set Up Load/Dispatch/Quote List
Set Up Load/Dispatch/Quote List 1. Navigate to https://dieseltms.com/home/index 2. Click "Loads" 3. Observe that there are Statuses (with Checkboxes) and Categories (the tabs below) 4. You can select or deselect any status or category. 5. Let's add a ...Searching the Load/Dispatch/Quote List
Searching the Load/Dispatch/Quote List 1. Navigate to https://dieseltms.com/loads 2. Click here to see dozens of examples of how to use the Search feature. 3. Clicking any of the examples will insert the value into the Search Field 4. You can combine ...Creating a PDF Template (Part 1)
Creating a PDF Template (Part 1) Starting with a copy of a Rate Con Template, Create an Invoice Template by making changes the the former. 1. Navigate to https://dieseltms.com/pdf_templates and open the PDF Template you'd like to work with. (Or copy ...