Creating a PDF Template (Part 1)
Creating a PDF Template (Part 1)
Starting with a copy of a Rate Con Template, Create an Invoice Template by making changes the the former.
1. Navigate to https://dieseltms.com/pdf_templates and open the PDF Template you'd like to work with. (Or copy an existing one that most closely matches the desired layout)

2. In order to remain somewhat rigid, yet flexible, the elements of the template are arranged in tables (similar to an Excel spreadsheet). So, generally to remove an element (like the box pictured), simply right click it and click on "Delete Table".
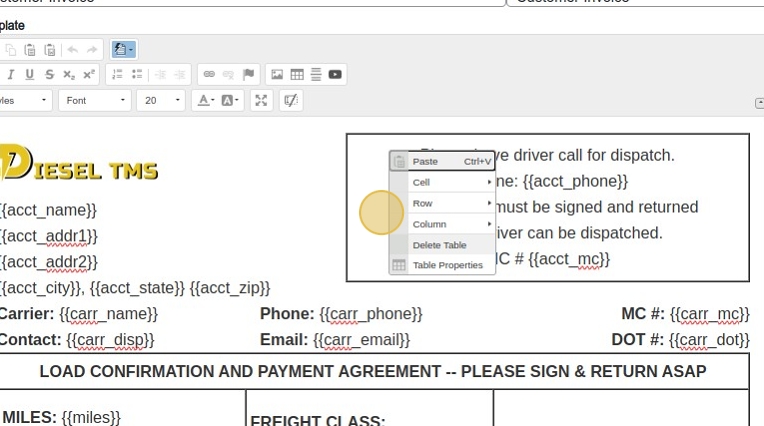
3. The object is removed.
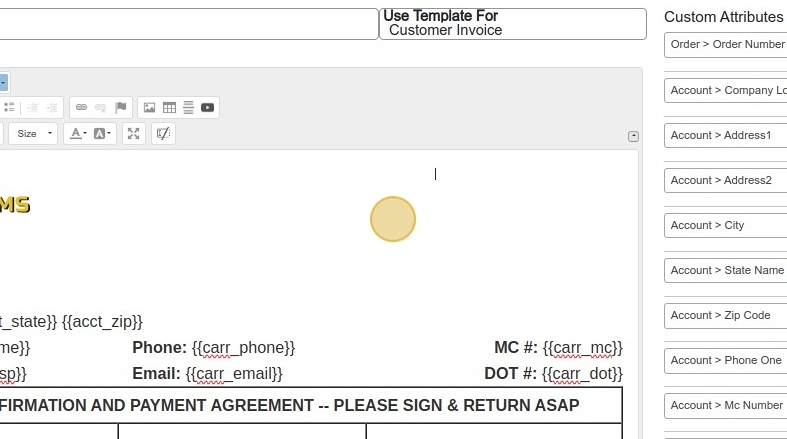
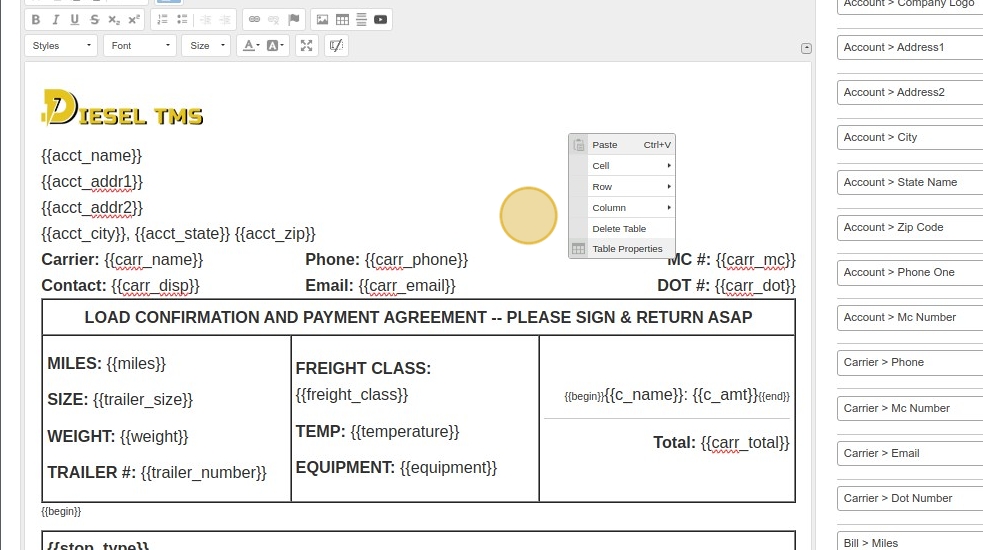
4. In order to see the underlying table, right click and click on "Table Properties"
5. Change the "Border size" field to "1"
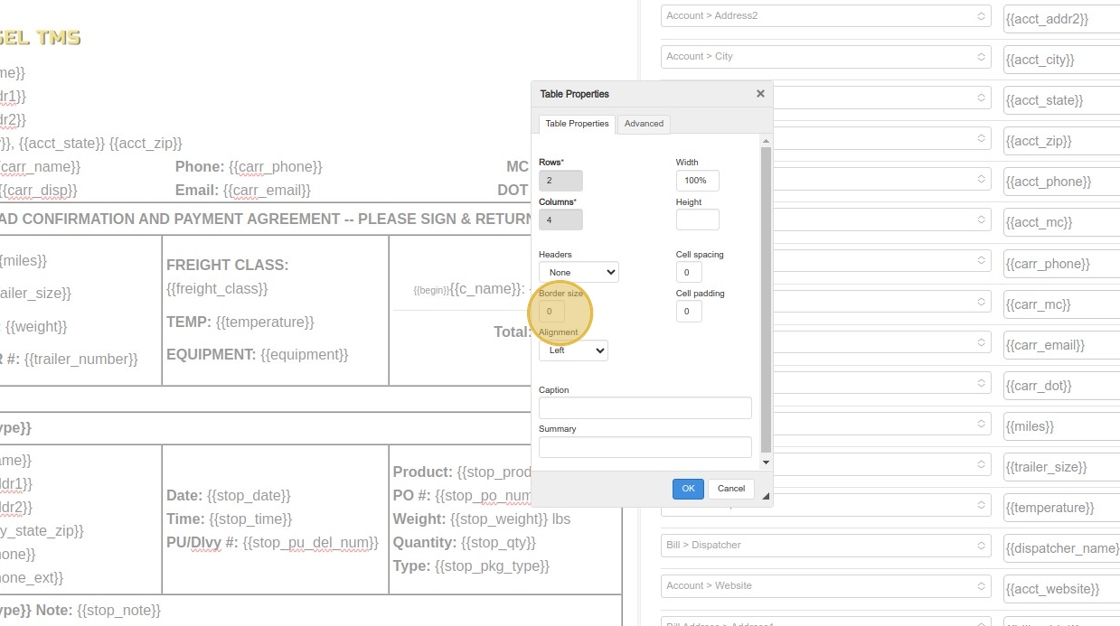
6. Click "OK"
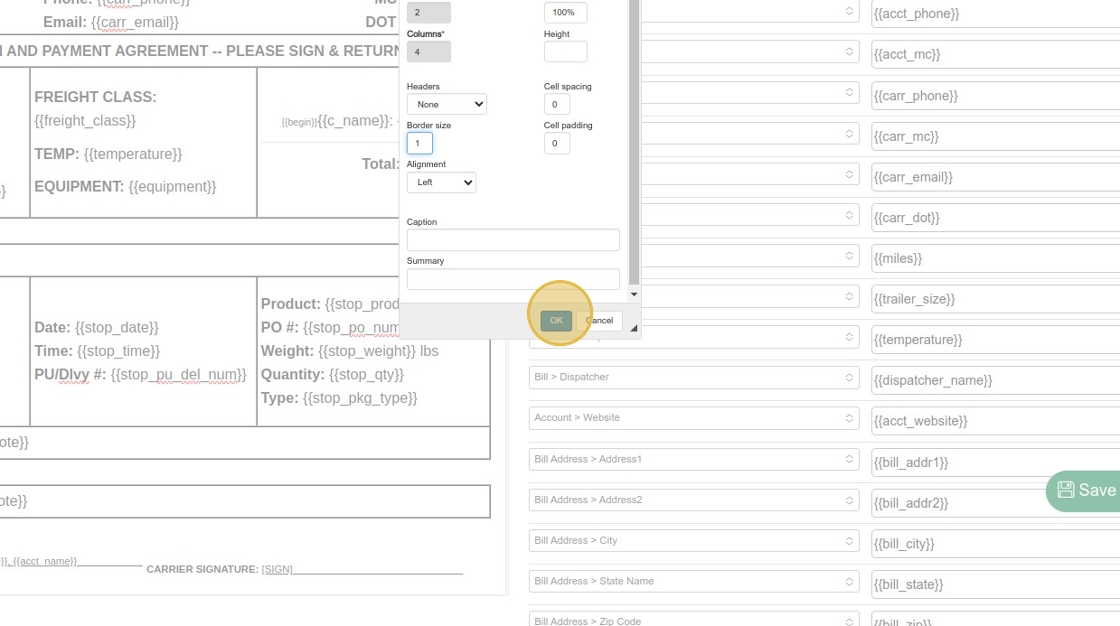
7. The borders are now visible.
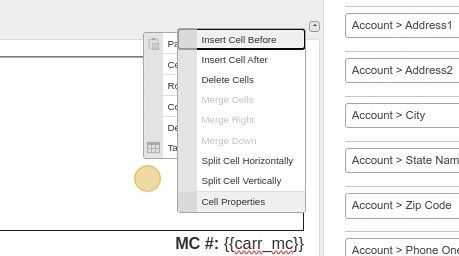
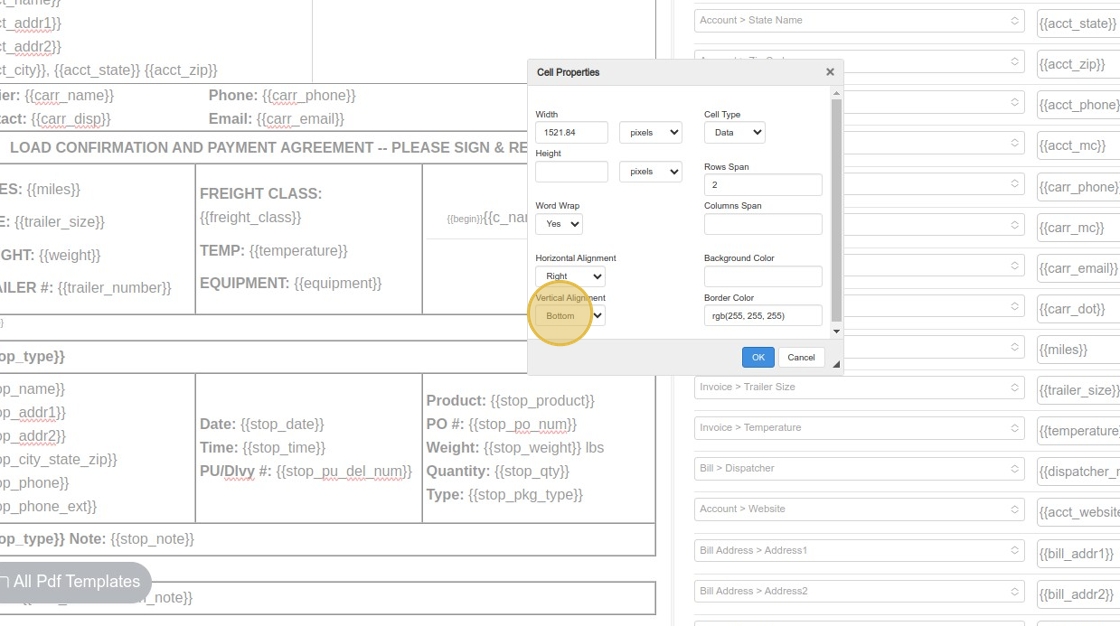
8. To Right Align the content of a specific cell, right click and then go to "Cells" > "Cell Properties"
9. Click the "Horizontal Alignment" dropdown and change it to "Right"
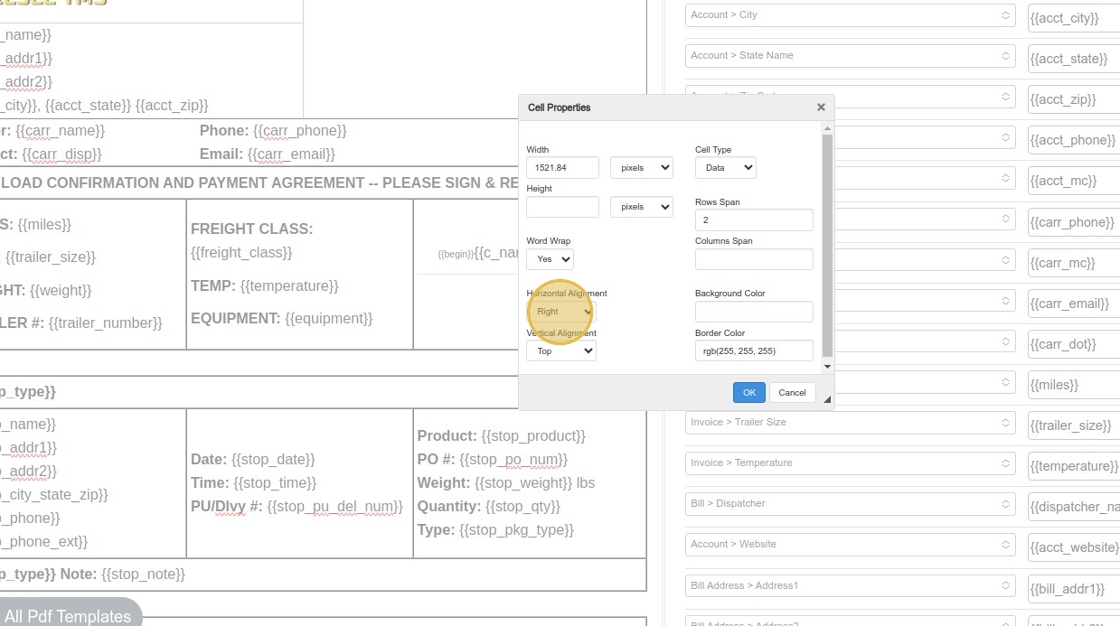
10. You can also see the "Vertical Alignment" option here, which allows you to push content to the top, bottom, or center of a cell. In this case, we are changing it to "Bottom".
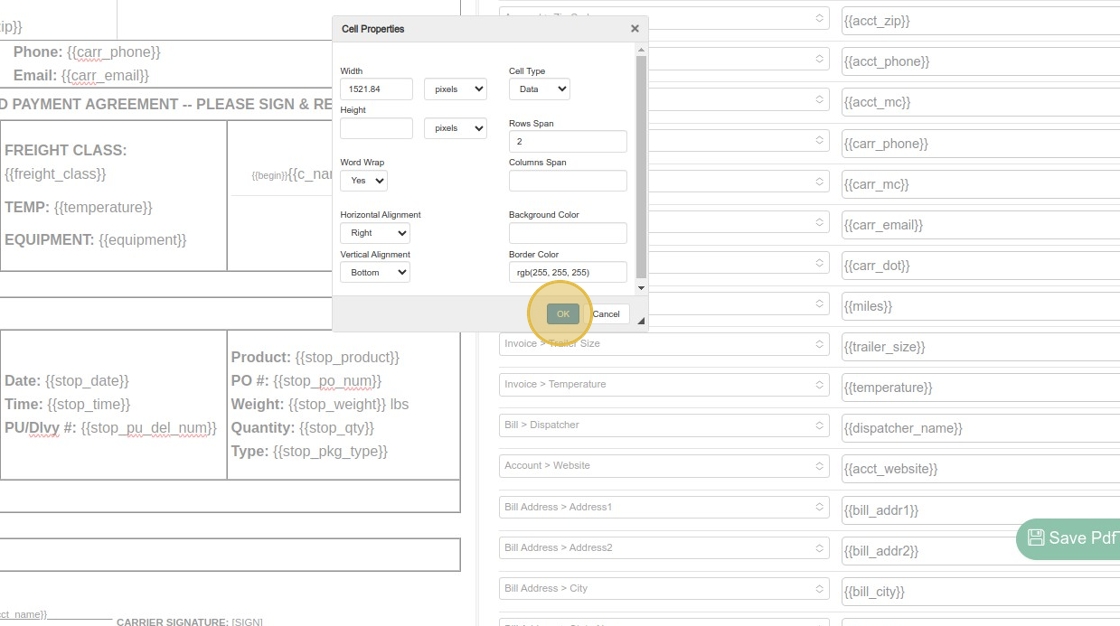
11. Click "OK"
12. Next, let's add some data in the cell at the top right corner. First, let's select the "Bold" option to make sure the font we will type next is Bolded. You can do this by pressing Ctrl + B or by clicking the B button, as shown.

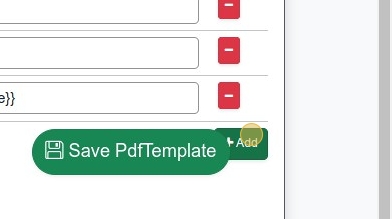
13. In order to add a variable to the PDF, just click on the green Add Button on the bottom-right, at the end of the the list of fields. (It may fall near or behind the Save button, but we will fix that in an future update!)
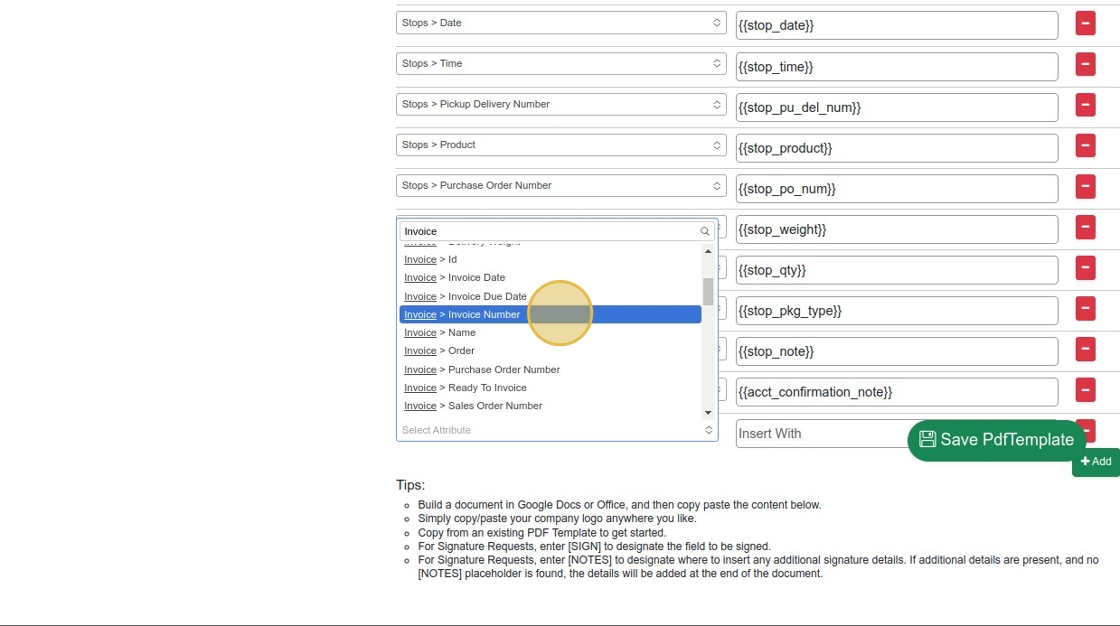
14. Select the attribute you'd like to add, and then just pick a name you'd like to use to insert it into the PDF.
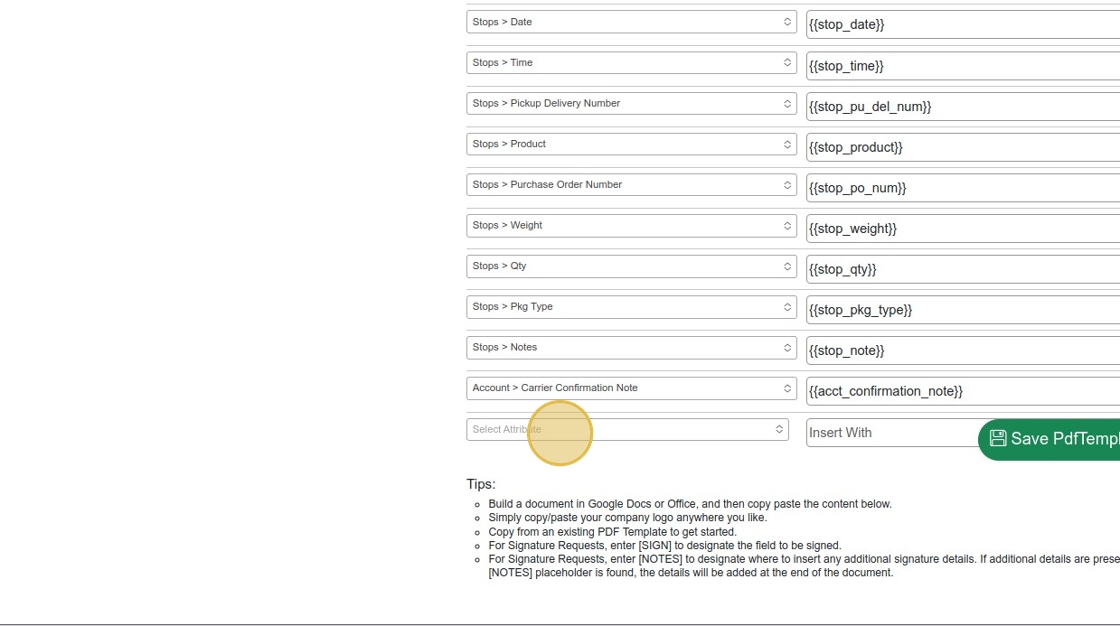
15. In this case, we will add the Invoice Number, so select the option "Invoice > Invoice Number"
16. Under "Insert With", enter "inv_num"

17. Copy the value you've entered in the Insert With field, and paste it into the PDF> Make sure to surround it with two {'s and two }'s, as shown in the picture:
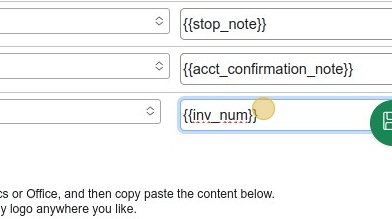
18. Then, just paste it where you'd like it to appear.
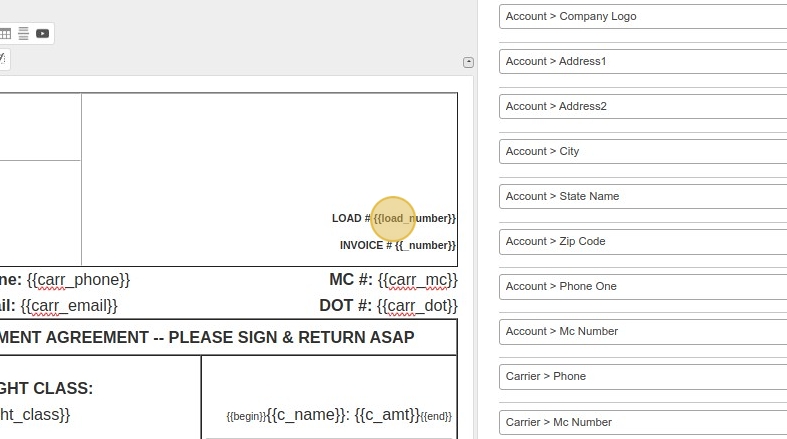
19. It is also possible to re-use options that were used on the previous template, but won't be needed on the new template. To do so, just change the option in the dropdown, and then change the variable name.

20. To Left Align the value of a cell, just right click, go to "Cell" > "Cell Properties", and change the "Horizontal Alignment" dropdown to "Left"

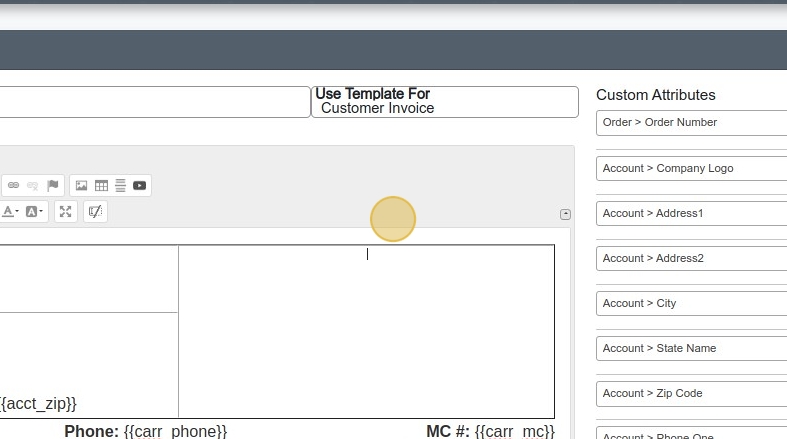
21. The following steps describe adding a row, and then adjusting the width of of the cells to match the desired result. Feel free to experiment!
Click on the Table Icon at the top of the Editor.
Select the number of columns and rows.
Click "Advanced"
Click "Table Properties"
Click the "Width" field.
Type "100%"
Select the "Center" option.
Click "OK"
Double-click "DESCRIPTION / WORK PERFORMED"
Click "Cell Properties"
Select the "Center" option.
Click "OK"
Double-click "QTY"
Click "Cell Properties"
Select the "Center" option.
Click "OK"
Double-click "DESCRIPTION / WORK PERFORMED"
Click "Cell Properties"
Select the "percent" option.
Click the "Width" field.
Type "40"
Click "OK"
Right-click "DESCRIPTION / WORK PERFORMED"
Click "Cell Properties"
Type "50"
Click "OK"
Right-click "QTY"
Click "Cell Properties"
Select the "percent" option.
Click the "Width" field.
Type "10"
Click "OK"
Right-click "RATE"
Click "Cell Properties"
Select the "percent" option.
Click the "Width" field.
Type "20"
Click "OK"
Double-click "CHARGES"
Click "Cell Properties"
Select the "percent" option.
Click the "Width" field.
Type "20"
Click "OK"
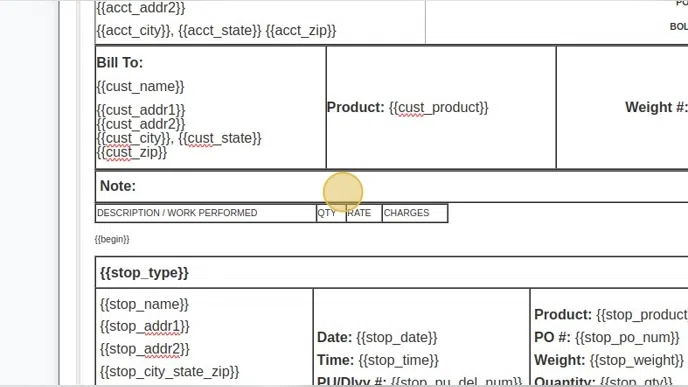
Click "[[stop_type]]"
Click "[[begin]]"
Click the link to proceed to Part 2!
Related Articles
Creating a PDF Template (Part 2)
Creating a PDF Template (Part 2) Alert: STOP! If you haven't yet read Part 1, please go back and start there. Otherwise, this will be much more difficult. ...Creating a New Customer with Contacts and Locations
Creating a New Customer with Contacts and Locations 1. Navigate to https://dieseltms.com/home/index 2. Click "Customers" 3. Click "New" 4. Click the "Company" field. 5. Type "Test Customer 3" 6. Click here. 7. Click "Save" 8. Click "Contacts (1)" 9. ...Creating a New Carrier Profile and Insurance Details
Creating a New Carrier Profile and Insurance Details 1. Navigate to https://dieseltms.com/carriers/new 2. Click the "Dba Name" field. 3. Click the "Company" field. 4. Type "Best Carrier, LLC" 5. Click the "MC #" field. 6. Type "456789 [[tab]] 987654" ...Sending, Receiving, and Signing a Signature Request / Onboard
Sending, Receiving, and Signing a Signature Request / Onboard 1. Navigate to https://dieseltms.com 2. Click "Log In" 3. Click "Onboards" 4. Click "New" 5. Select the "Rate Confirmation" option. Tip: You can design your own PDF Templates to use when ...